Friday 21 June 2013

Crochet Stuff Part 1 (Butterflies)

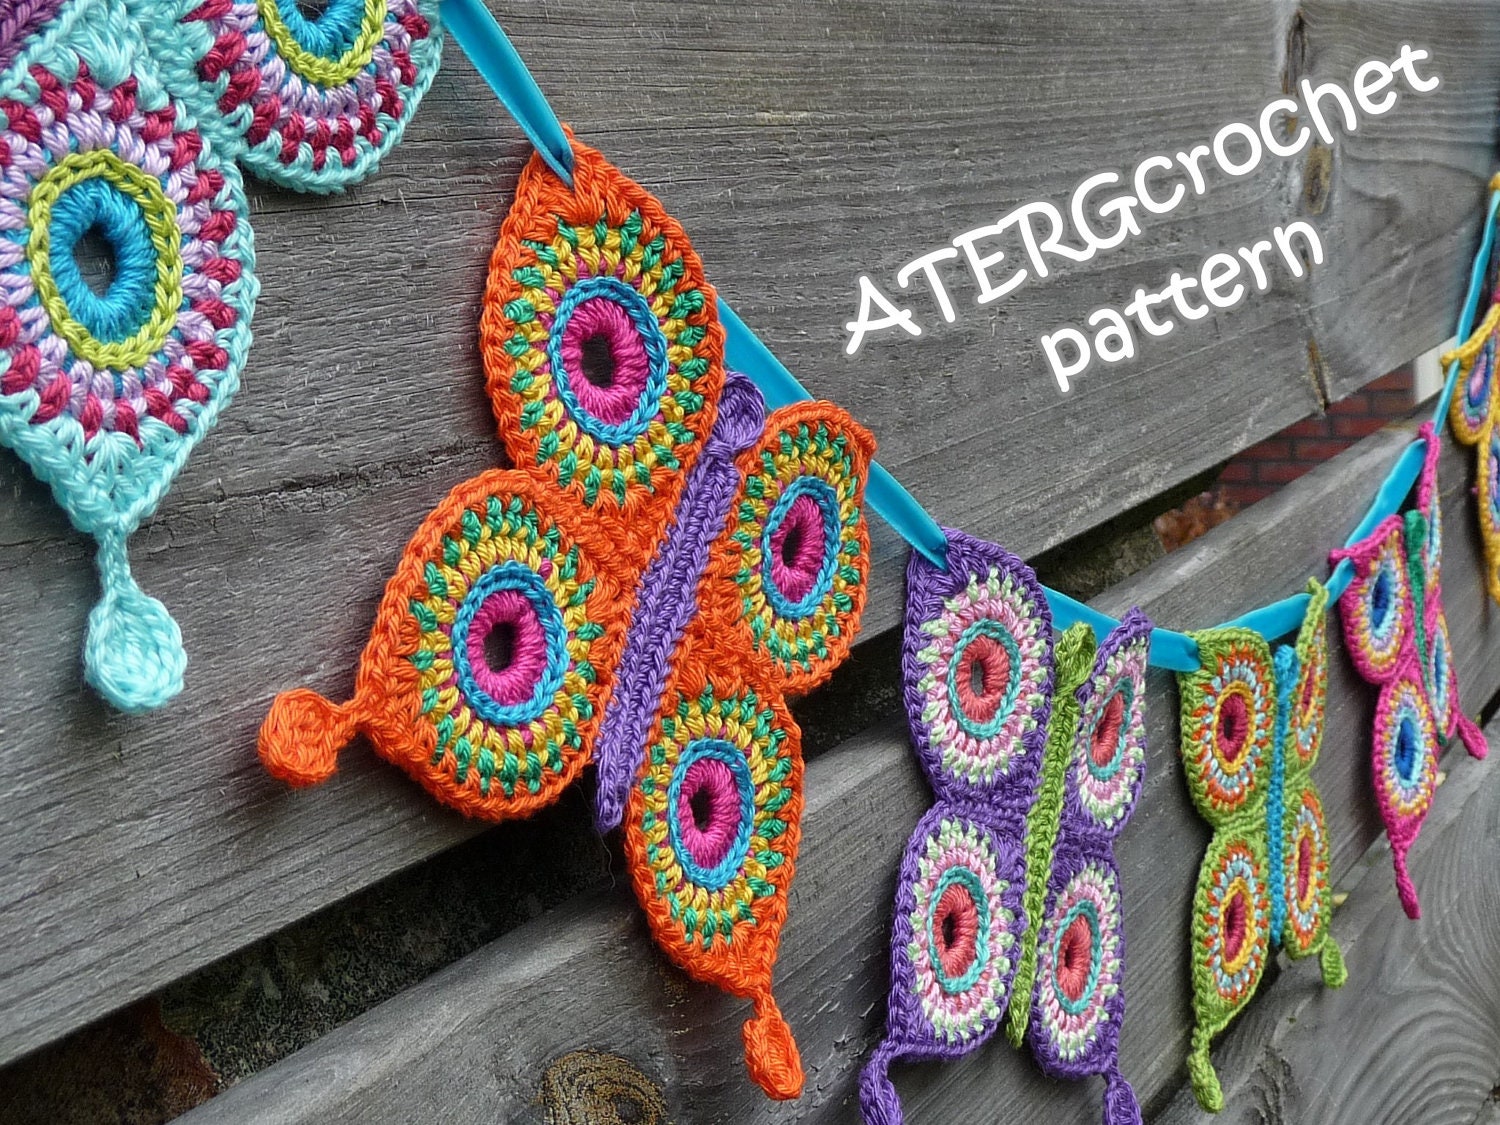
This is really lovely.
A friend posted the link on facebook:

Crochet pattern butterfly garland by ATERGcrochet


http://www.etsy.com/listing/114430267/crochet-pattern-butterfly-garland-by

It's in US stitches! which is why I'm not racing to buy it.
(because when I crochet using a US pattern, I have to translate it as I work, and end up doing this woman's voice as I do so:

https://www.youtube.com/watch?v=EOwFdxZMEJ4

Bias Binding

I'm trying to make little vests for Eleanor.
I want to do the edges like the shop-bought vests you get, and so I need binding.

Because the fabric is knitted, i don't need bias binding, but the priniciple is the same.

I wanted 1/2" folded width.
I got Ian to buy me a 1/2" BB maker from Hours (our local knitting shop), but hadn't actually thought that it makes 1/2" unfolded binding! so folded over, it's 1/4" and that's just silly.

So, I could go out and buy another BB maker that does 1" unfolded, or I could do it myself.

I'm sure i found a blog post that did one using card, but I cannot find it now!

I'm going to post on here the best ones I've found.

This one from creative little daisy is good (and she's done it left-handed, so I didn't have to flip the pictures in my head!)
http://creativelittledaisy.typepad.com/creative_little_daisy/2007/11/diy-version-of.html#comment-6a00d834521b3369e20192ab699e35970d


Dscf3920


Bee inspired does it with needles, too. (interestingly, also left-handed!)
http://bee-inspired.blogspot.co.uk/2011/05/bias-tape-tutorial-without-bias-tape.html


I found it!
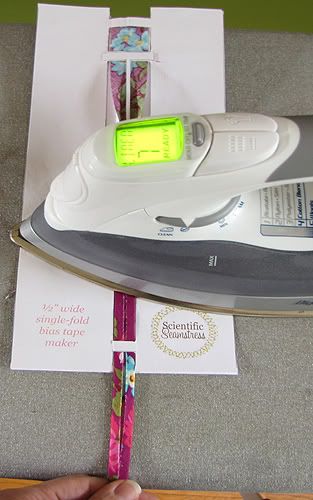
http://scientificseamstress.blogspot.co.uk/2011/10/printable-bias-tape-maker.html
How to make a bias binding maker out of card.


Photobucket

I've just managed to assemble my tape maker.
I think!
I wanted a tape make twice the width of the one in the project, but I think that made some bits harder.
Namely, the guide part, when you try to glue it on, you can't have the top end open and the bottom end shut at the same time: there's just not enough give in it. I think that's the length versus width problem.
I don't see how to change that unless you lose one of the guide bars lower down...
I won't get a chance to make any tape with it until tomorrow.
If it doesn't work, I'll try the pin method.


** I've just realised I've already done a post on Bias Binding Making (11th April)
Thankfully I've not repeated too much!
But I forgot about that one where you use just a single piece of card - I might try that, then, if this fancy one doesn't work.


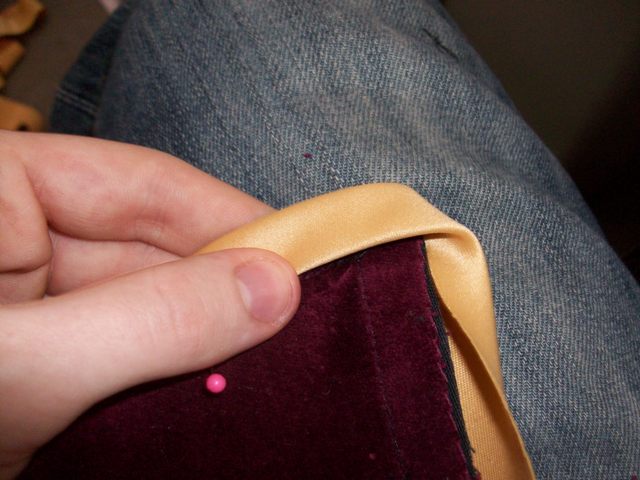
And this is a good tip on making mitred corners on your finished project...
http://khaoskostumes.com/?p=208

Thursday 11 April 2013

Bias Binding Making

There's a big thing on MN right now about making bias binding.

I already have an attachment for my sewing machine that can make binding (as in the stuff that goes round edge of vests), but it's not terribly accurate or precise.
<sigh>

I've been looking for something that can help thread it through.
When I did my HND, we had binding feet that had a wiggly bit of metal before it, which basically lined up the fabric before it went into the binding foot. (like this. it probably was this)
I need something like that for my foot.

Anyway, in the meantime:
some information on making Bias Binding.

Using a knife:


http://meijosjoy.blogspot.co.uk/2012/04/diy-bias-tape-maker.html


One using pins:

http://portialawrie.blogspot.co.uk/2012/06/nifty-tip-no-bias-maker-no-problem.html 


http://bee-inspired.blogspot.co.uk/2011/05/bias-tape-tutorial-without-bias-tape.html


Or one with cardboard:
http://sewing.craftgossip.com/tutorial-diy-cardboard-bias-tape-maker/2013/02/09/

bias-tape08-copy


and by jingo, if this isn't the binding foot I've got!
http://www.youtube.com/watch?feature=endscreen&v=o3ikMo5li4Y&NR=1
(slightly different because of the clip-on vs screw-on shaft)


(screen shot)

and in all this time, the reason I can't seem to get it to work is because I've been putting the binding into the curly bit at the end instead of into the little slots partway down. If I try that, I bet I can do it! (why I didn't think to look at YouTube before I'll never know)

See, now this is mean - I need a Bernina machine!
http://www.youtube.com/watch?v=q3ho1S0d0SM


Wednesday 13 March 2013

Dungarees keep popping open!

My friend has the problem that her toddler's dungarees keep popping open at the crotch every time he bends over.
I actually have the same problem with Eleanor's dungees, but I've never got round to do anything about it.
Anyway, I have done somethign about it!

I decided that it must be the rise that's the problem, because standing up, the length of the body is fine and the legs are fine.
it's just bending over or sitting down - they pop open with the strain.
I don't know why toddler dungees aren't designed with a bit more fabric in the crotch...

Here's my solution.
 
The  dungarees with their crotch open. I measured the distance between the 3rd press-stud from the middle on each side, and made a triangle shape with paper.

  
I checked that against the trousers and marked (on the paper) with felt-tip where each press-stud was.
Then I cut out the fabric (an old pair of jeans with a slight stretch in the demin), using the length of the triangle as the straight grain.
Please note that I have not added a seam allowance to the pattern, you don't really need a  big seam allowance on the top and bottom because it's going to be overlocked.
The extra that I have added to the pattern is the FOLD-OVER part (see next stage!)


 The triangle once it has been overlocked down all edges (do top and bottom and then each side separately)

The next bit is important, because you have to press the edges so that they make a triangle. This is where it's better to have a slight stretch, because in the middle where the triangle converges, you will get a bump. It doesn't matter which way you iron the bump down, as long as it's not too thick.
You could lockstitch around the edge now if you want to. Measure the triangle again against the press-studs on the trousers.
It's important to have the right press-studs for the trousers. these are a 9.6mm diameter press-stud.


I have added the press-studs now - lines up perfectly with the press-studs on the trousers. Please note that the  back of the press-studs are on the WRONG side of the triangle, and the working parts are on the right side of the triangle.
that's so that when it's put onto the dungees, you can't see the triangle (honeest!)


 Then all you need to do is join them together!
See the outside of the dungees (the decorative side) shows, as it would have without the triangle, but the other side (the underneath) doesn't show at all.


Saturday 2 March 2013

I think I'll have a go at sanpro

I bought some SanPro from http://www.luxurymoon.co.uk/ last week, and have had a try of them.

I bought (without showing you the exact pattern, because that's just weird)

http://luxurymoon.co.uk/index.php?main_page=product_info&cPath=3_185_77&products_id=895

and
http://luxurymoon.co.uk/index.php?main_page=product_info&cPath=3_186_238&products_id=1451


So far, I like the first ones because a they have a waterproof back (makes you feel a bit more secure), and because they feel heavy duty. They feel sturdier, so I don't feel like I have to be dainty with them when I fasten or unfasten the snaps.
The second type feel better on - the shape of the pad is right for the inside of the legs. They're a bit less bulky, too, but the backing, where the snaps are, is fleece, and it feels like it's being pulled about (and worrying it might rip!) when I fasten the snaps - meaning I'm taking care when pulling them open. And the top layer is cotton, and I'm not sure it's going to clean properly every time (cotton stains more than man-made fabrics)

So both types are good for different reasons - I'd say for fit, I prefer the second one.

So, I thought about making my own.
I bought a kit form the same website:
http://luxurymoon.co.uk/index.php?main_page=product_info&cPath=3_241&products_id=1508

I love the fabric, and the fact that you get loads of it - you can make 11 pads from the fabric provided, using the pattern they provide.
The problem being that I don't like the pattern.

It was incredibly easy to do (and they provide the thread too, so all you need to provide is snaps or velcro to fasten).
I love the fabric provided - the bamboo velour is funky, the middle absorbant layer is inspired, and the fleece or the backing is great too.
I just don't like the pattern. I thought it seemed too narrow - you get 3 pieces to cut out, a big bit (that looks like the top towel on this page) which you cut with fleece for wrapping round your gusset, a medium bit which is the top layer, and a small bit which is the absorbent layer.

So this is what it looks like when it's finished.
I don't like the massive piece of fleece all the way round the edge of the fabric layer - it looks odd.
(I've still got to add snaps - which I'll have to add an extra piece of fabric for strength behind)

My idea was for it to look more like the blue one up there, so I cut out a couple more pattern pieces using this as an idea template.


I cut the black piece bigger and wider (more like the shape of the flowery one up there), and the coloured piece, I cut to match the size of the black, and the shape of the blue-one-above.
I kept the absorbent layer the same.
I tried to overlock around the pink pad, but I couldn't get it to start properly (because I'd sewn with zig-zag the main bit, then put it on the backing to overlock, and it didn't work, because I was to overlock by starting in a corner)
I saw something on Google where they're overlocked all the way round the backing as well, which would have made more sense.
(I was also sewing it very close to the end of the day, and I really didn't have time to keep rethreading the overlocker when I messed it up)
So, in the end, just because of time constraints, I zig-zagged all the way round the pink.
It means that it looks all loose and fraying, and also is a bit stretched and pulled around (because I didn't have the option of 4 thread tension like with the overlocker)


I've just found this one by Google
http://tipnut.com/free-pattern-for-washable-feminine-menstrual-pads/

I won't use this pattern or tutorial, because it involves bagging out and cutting fabric (for some unknown reason!!), but I like the shape of the pad, and the general premise, so I might grab hold of my overlocker and give something a go.


With my original pattern, you sew thew absrobant pad straight onto the backing fabric, then sew the top layer over that.
I think I might make a pad as if a stand-alond pad (so it can be overlocked all the way round) and then topstitch it onto the backing.
(and perhaps edge the fleece if that's the backing I use...)

edit: 4/3/13
i found this site with a picture of a towel i like the shape of:
http://www.indusladies.com/forums/gynaecology/115982-cloth-sanitary-napkin.html

Friday 23 November 2012

Just a few ideas I'm running away with....

I've been making a list of things I can make.

Nappies (OSFM and Wraps, not maybe the terry part, because that's a lot trickier)
Snapped-together kitchen roll/cloths
bibs
Washable baby wipes
Bags to keep clean/dirty wipes in
Washable breast pads
Washable nappy liners
Snuggles for buggies (those lovely fleecey inserts that have the feet on in buggies)
Fleecy straps (for buggies, car seats and seat belts)
Feetsies (shoe type socks for crawlers)
Book bags
other waterproof bags
glasses cases.
.....